
Have you received a modeling box from L'Atelier Geneviève? Do you want to try a new manual activity? Here are some ideas and inspirations for modeling workshops at home or in a workshop!
Some projects:
- Pottery on the plate
- The cup at the stamping
- The cup of the colombins
- Plates with colorful patterns
- The decorations
- Nerikomi
- Making a pottery on the plate
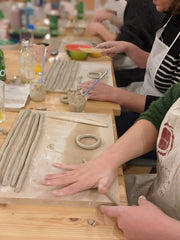
The slab technique is widely used in modeling, but you still need to know how to make a good slab! If you use natural clay (with firing - not self-hardening), make sure you have beaten the clay properly. You have to be careful of air bubbles, so use a sharp object during this step.
The steps
- Take a handful of earth from your beaten clay
- Form a ball in your hands (without kneading the earth too much because you risk adding air)
- Place your ball on your plate
- Start by flattening it by tapping it with the flat of your hand.
- Once you have roughly flattened your ball, equip yourself with a rolling pin, a glass bottle, or a can...
- Spread your ball starting from the center upwards, then from the center downwards.
- If you want your plate to be the same thickness everywhere, you can put two magazines of the same thickness on either side of your plate, and roll with your roller on it: this also allows you to level your plate, not to make it too thin
- When you see air bubbles rising, prick them with a sharp tool, a knife tip for example, erase the trace with your finger, and continue to flatten
- You can turn it over to smooth it on both sides.
- If you find that the surface is too rough, you can use an old loyalty card or bank card to smooth the plate, it's magic!
- Once you have nice plates, you can form your piece by assembling them, using an earth glue called slip .
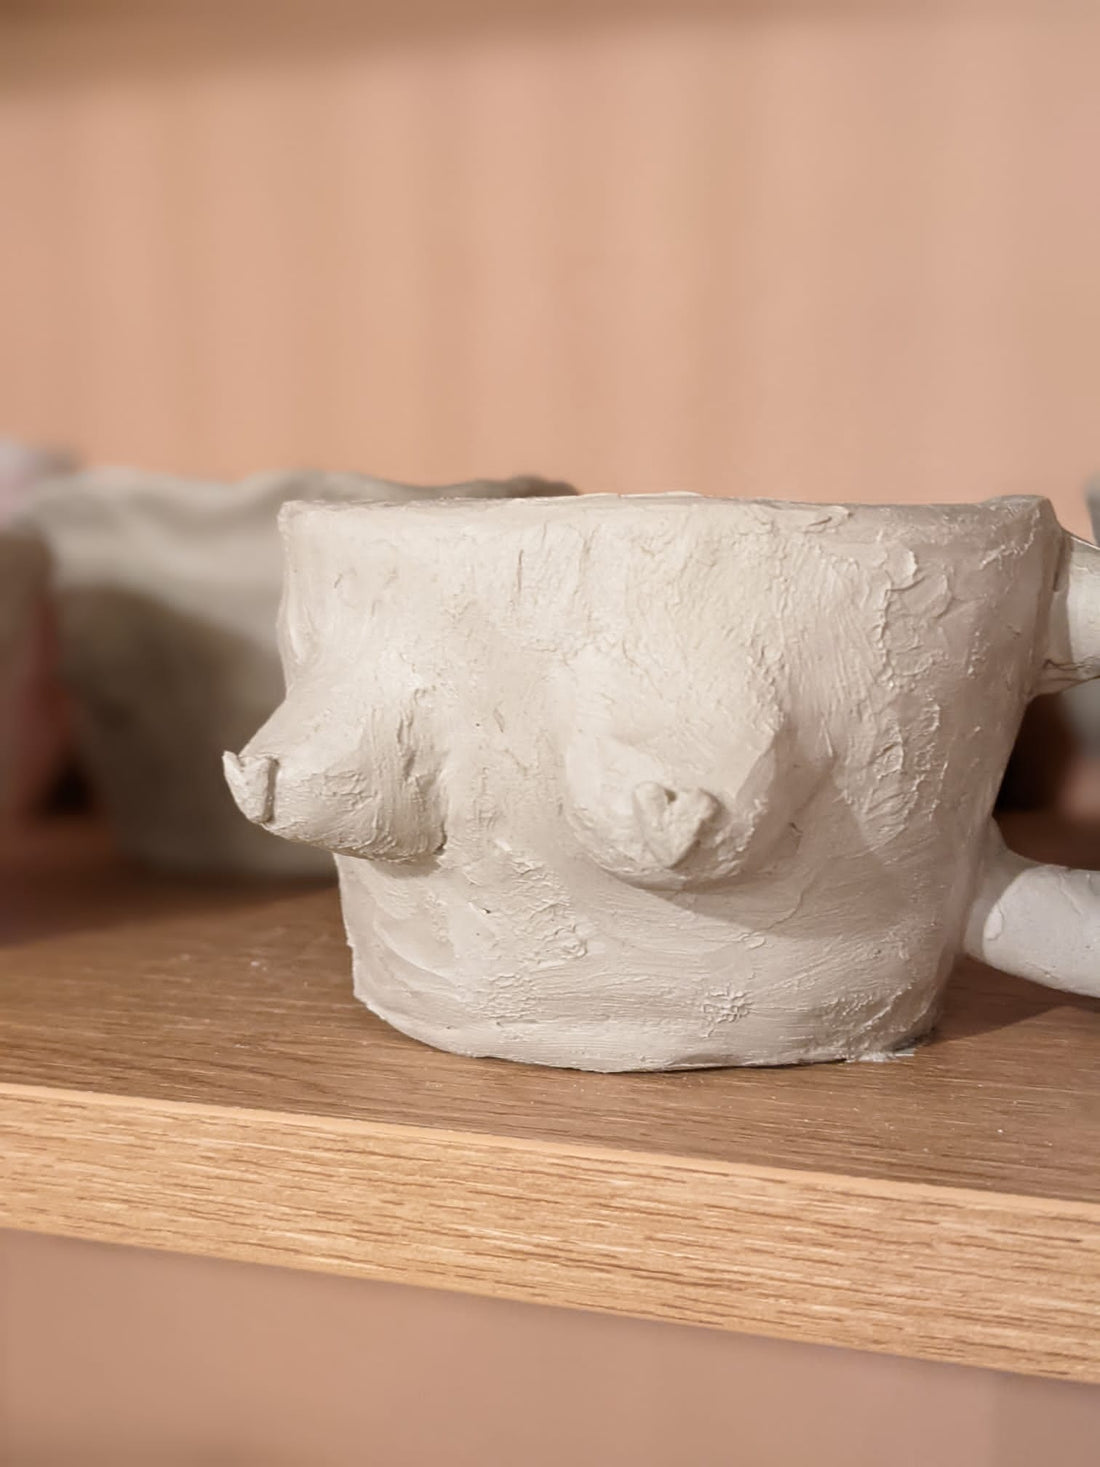
- The cup:
- Prepare a small ball of clay and roll it out with a wooden roller (like a rolling pin) or a cylindrical object (rolling pin, can, etc.).
- Place a glass or a round-based support on your clay plate, and trace a circle with a wooden pick or a sharp knife.
- Cut out the circle using a sharp knife.
- Take a bowl or a deep plate and turn it over on your work surface.
- Place your round clay plate on your object, right in the center. Let the edges fall on the sides or make them yourself according to your tastes: the idea is to form an inverted cup.
- Let it dry for 24 hours before turning your plate over and carefully removing it from the object.

- The Colombine Cup:
- Prepare clay sausages, called "colombins", of the same thickness and length.
- Form a circle with a first sausage. To stick the two ends of the coil together, add a little water with your fingers.
- Using a sharp knife or a wooden pick, make light crosses all over the top of your sausage. Moisten these crosses with your fingers and place a new coil on top, still in a circle.
- Continue stacking the coils to the desired height, then set aside.

- Take a small ball of clay and flatten it with a roller or by hand to obtain a slab of clay of uniform thickness, not too thin.
- Place your previously made tower of coils in the center of your plate.
- Cut a rounded shape out of the clay slab by running a sharp knife all around your lowest coil. Remove the excess from your clay slab.
- Between the round clay plate and your first coil, make small crosses on the contact surface, then moisten with your finger to stick the two parts together.
- Use a wooden tool or your fingers to smooth the entire exterior (and interior if you wish) surface of your creation. Smooth the walls until the sausages are no longer visible.

- Add details if you wish: handles, writing...

- Plates with colorful patterns
- Make a vegetable texture bowl
This tutorial will allow you to create your own self-hardening clay objects, with a plant motif of your choice. You will need:
- Clay
- Leaves or flowers of your choice. Choose green leaves that are still flexible, dried flowers are fragile and may “break”.
- From a knife
- From a cylindrical object (modeling or rolling pin, glass bottle, can)

The steps
- Roll out your clay using a roller or a glass bottle, so as to keep a good uniform thickness (around 5mm)
- Place your plant where you want to have its imprint
- Take your roller again and go over the plant again.
- Remove it very delicately (if you have chosen a plant with multiple details, opt for tweezers to detach it)
- Cut out a circle surrounding the imprint of the plant, in order to obtain a cup.
- Place it in a bowl so that it fits the slightly hollowed shape
- Leave to dry for 24 hours
- Paint your bowl with acrylic, or leave your work “natural”!
- Decorations: prepare a ball of clay and place magazines of the same thickness on either side of the ball. Flatten the clay using a rolling pin until it is the thickness of the magazines, in order to obtain a uniform plate. Cut out shapes from it, using a knife or a cookie cutter. Mark a hole using the wooden pick so that you can hang or attach your decorations.
- Nerikomi: make plates of different colors, and place them on top of each other like a mille-feuille. Roll a cylindrical object on top then cut thin and uniform strips. Turn each one a quarter turn to position them multi-colored side up. Place a fabric on your strips stuck to each other, then roll a cylindrical object. There you have a beautiful Nerikomi plate!