
Model a vase in natural clay or self-hardening clay by watching the tutorial below.
Step by step:
Prepare your work surface: set up a flat surface, such as a wooden cutting board. Keep a bowl of water nearby to moisten the soil and smooth out any cracks.
1. Start by taking a handful of clay, about 1/3 of the bag. Form a ball by tapping the ball of clay between your hands. It should be as round and smooth as possible.
2. Dig a hole in your ball of soil by pushing your thumb inside. Your finger should dig about halfway down the ball.
3. Pinch the soil between your thumb (inside the pot) and your other fingers (outside the pot). Start at the bottom of your room, pinching and then rotating your ball little by little. Repeat the operation by moving your hand up until you pinch the whole ball!
4. Now place your thumb on the outside and your fingers on the inside and thin out the walls of your jar, making sure they are the same thickness throughout.
5. Place your pinched pot under plastic, then repeat these steps on a second ball of land of the same size.
6. Once you have two pots, take one and pinch the top of the wall to make a corolla. To do this, press the top of the pot between your thumb and index finger so that you have a very thin area all around that will be used to stick the two pots together.
7. Place your two pots on top of each other to close your vase. Fold the area of fine soil over the other part, in order to seal the two pots together. Smooth the middle ridge of soil with a little water so that it disappears.
9. Roll your closed vase between your hands to give it the desired shape. You can also roll it on your work surface. Don't hesitate to refine the top if you prefer a vase with a narrower lip.
10. Flatten the top and bottom of your vase, so that it is stable. Then use the wooden pick to make an opening at the top of your piece. Rotate your pick to enlarge the opening. Smooth the opening.
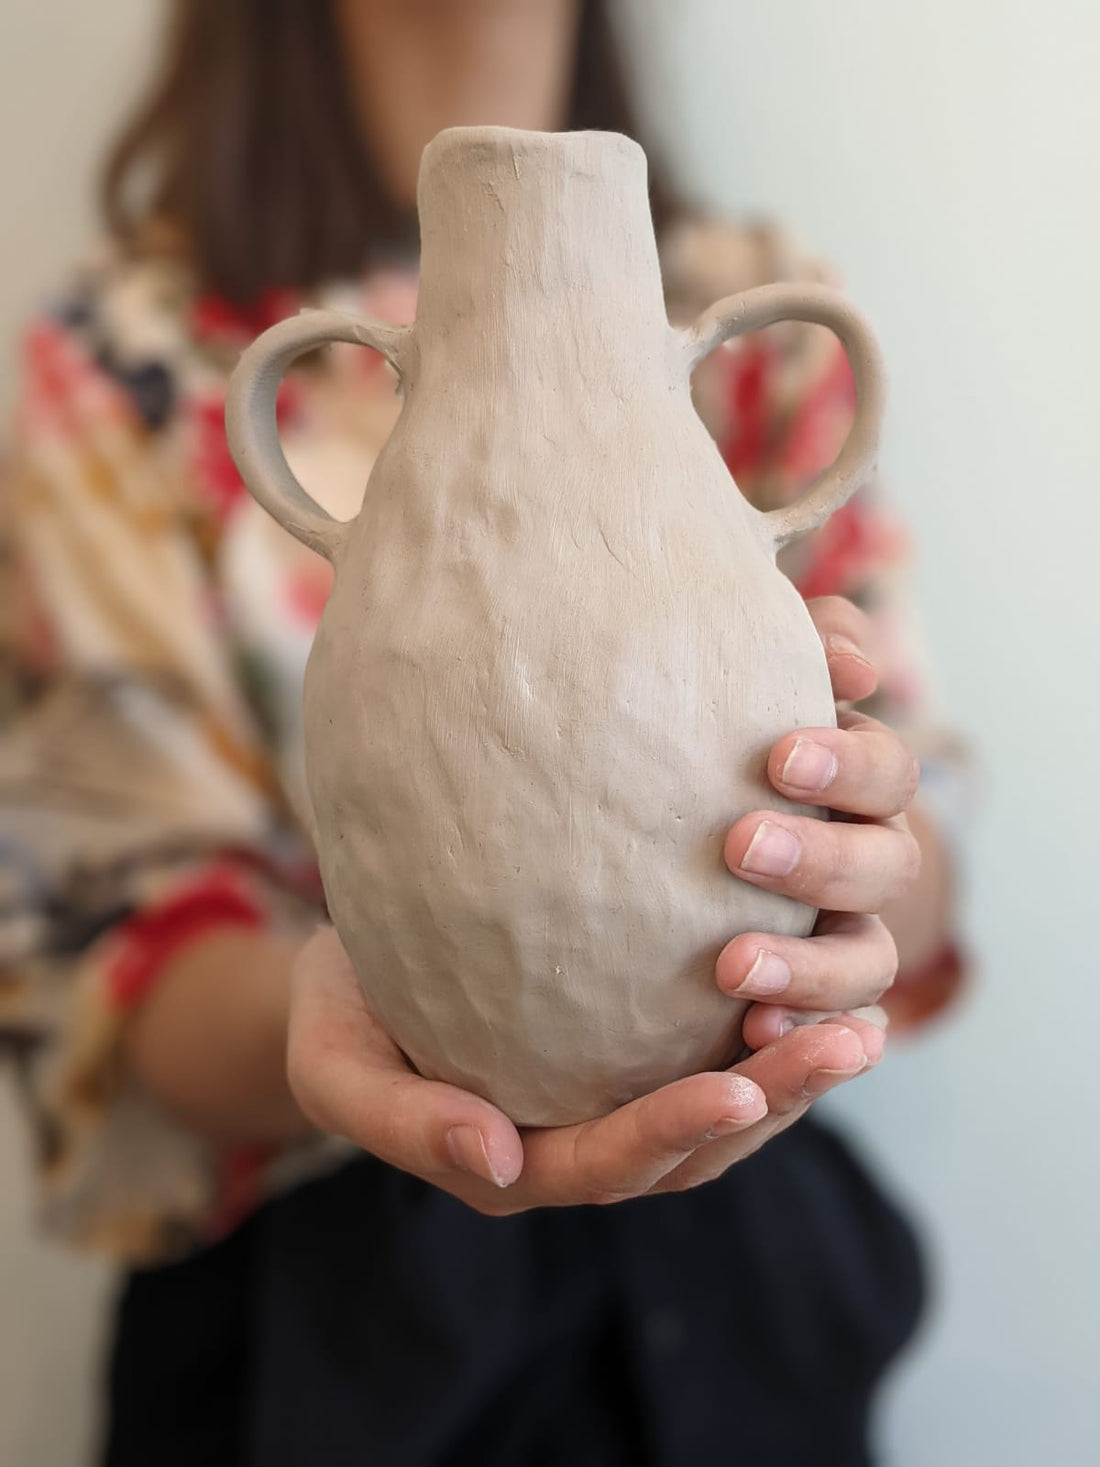
12. Add small handles, if desired, by forming two sausages of the same thickness with the rest of the clay. To glue them, moisten the areas to be joined, then press. Solidify by making two small sausages of clay, which will be used to surround the junction area. With a wet finger or the wooden pick, smooth the sausage until it is no longer visible.
13. You have finished the shape of your vase! In order to smooth out any rough spots, you can use the slightly damp sponge.
And there you have it! Let your self-hardening clay vase dry for 24 hours. For gentle drying, don't hesitate to place them under plastic (cling film or plastic bag).
You can then paint your vase, then varnish or enamel it.