
Beat his land
This is step number 1 of clay modeling! If you are working with self-hardening clay, you do not need to go through this step. This allows you to homogenize the clay and to expel air bubbles. These are dangerous for your pieces, because trapped in the clay, they cause cracking during cooking. It is therefore very important to beat the clay carefully. Read these steps and watch the video before you start modeling, they will help you make the strongest piece possible.
The steps
- Place your wooden plate on your work surface
- Form a ball of earth in your hands
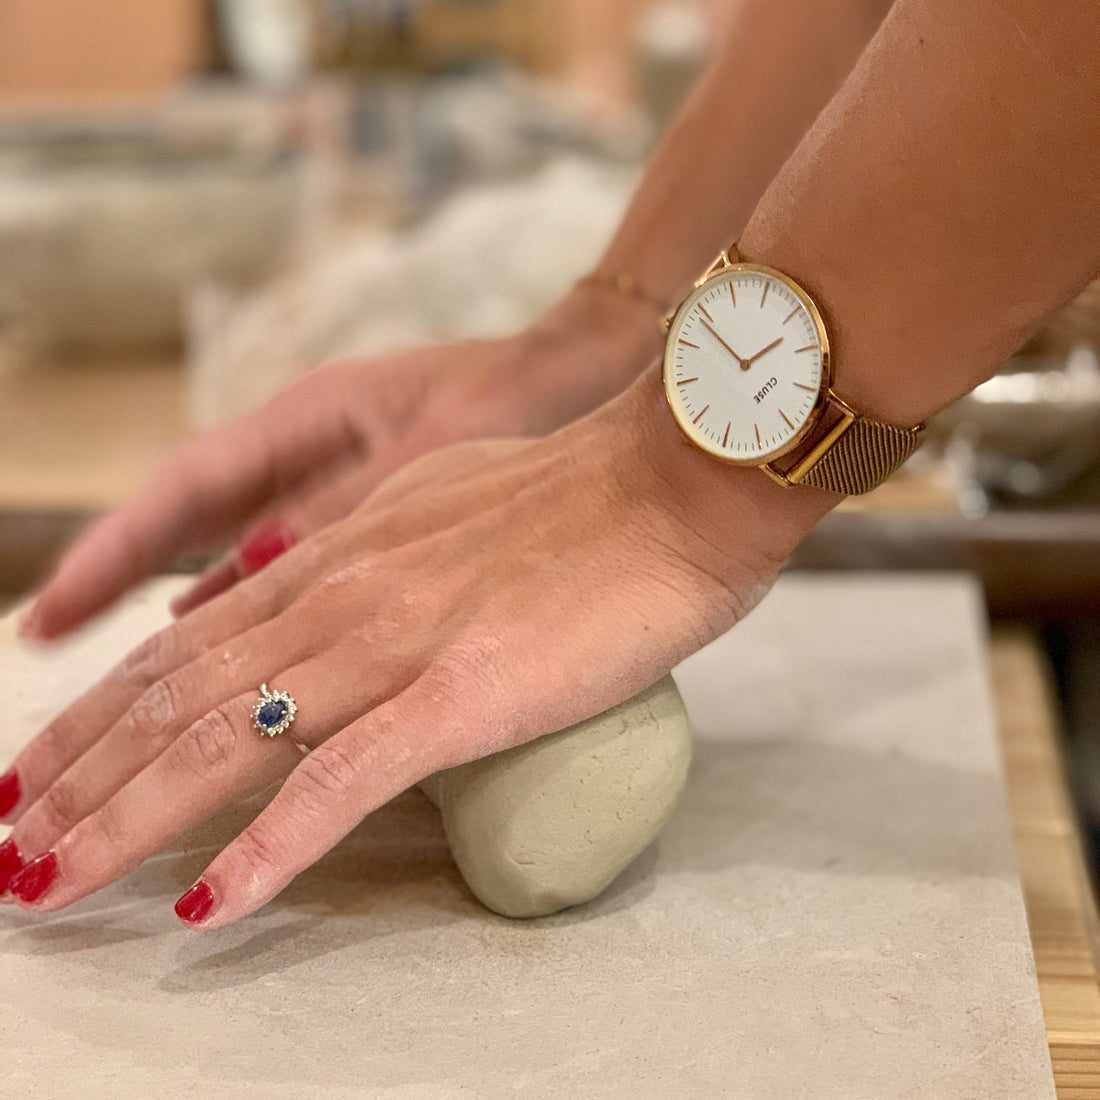
- Tap it vigorously to give it a nice round shape.
- Place your ball of earth on your plate, position your two palms on the ball, fingers facing outwards surrounding the ball
- Position your body to put strength in your palms, stand with your starting foot forward
- Press with your whole body on the ball, the force must be concentrated in your palms, and your fingers must prevent the ball from flattening on the sides: it must roll forwards
- Reposition your beaten ball in the center of your plate, and repeat the operation.
- After several minutes, the ball should look like a ram's head: between your palms it should have a snout, and on the sides you should see horns curling in a spiral!
- Once the earth is beaten in one direction, turn your ram's head a quarter turn and start again! Until you get a ram's head in that direction again
- Once your clay has been beaten for several minutes, take it in your hands and throw it several times on the plate in order to make a small square of clay ready to use.
We offer you the following video tutorial:
Prepare the slush
Slip is an earth glue, which you will use to stick plates or coils together.

The steps
- Dry clay chips in a pot for a day or two
- Once completely dry, grind them into powder.
- Add water and a few drops of white vinegar, until you have a paste-like consistency.
- Place the two elements you want to glue together to visualize what the contact areas will be.
- On the elements, at the contact areas, guilloche the earth: this means scratching the earth (by taking a sharp object, the tip of a knife, or a fork!)
- Applying slip to the guilloche areas
- Glue the elements together, with a little pressure, without pressing too hard because you risk deforming your plates
- You can stay for 1 minute holding the plates, so that the earth glue takes effect.
- Remove any excess slip that may have dripped down the sides of your plate with a plastic card.
- Smooth the glued areas well, either with your finger or with a card.
- Then repeat the operation as many times as you have plates to glue!
- Let it dry gently under plastic for 4 days, then without plastic for 3 days and your piece is ready for its biscuit firing.
This technique is useful for the plate technique, but also for the coil technique! In order to solidify your piece, we advise you to close the circles with slip, and to glue the coils together with this technique as well. If your clay is very flexible, you can skip this step, but in the case where it is a little hard, the slip will allow better adhesion between the parts that you superimpose.